A Brief Intro to Docker for Djangonauts par Lacey Williams
See also
- https://twitter.com/laceynwilliams
- https://twitter.com/laceynwilliams/status/921421761039818754
- https://www.revsys.com/tidbits/brief-intro-docker-djangonauts/
- https://www.revsys.com/tidbits/brief-intro-docker-djangonauts/
- https://www.revsys.com/tidbits/docker-useful-command-line-stuff/
- https://www.youtube.com/watch?v=v5jfDDg55xs&feature=youtu.be&a=
Contents

Introduction
I’ll be honest: I was pretty trepidatious about using Docker.
It wasn’t something we used at my last job and most tutorials felt like this comic by Van Oktop.
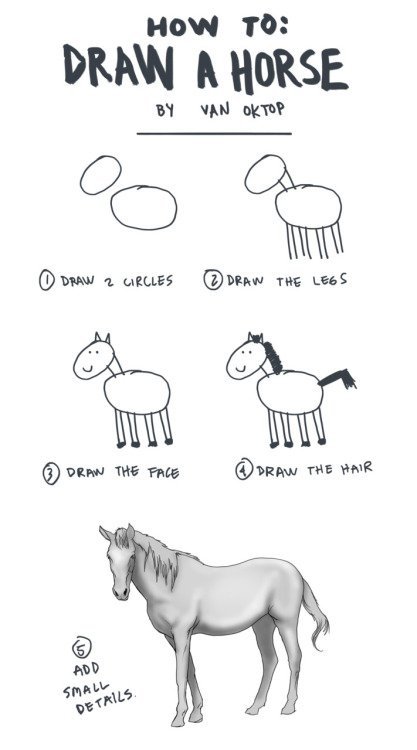
How to draw a horse
Dockerfile Lacey Williams
FROM python:3.6

ENV PYTHONUNBUFFERED 1
ENV DJANGO_ENV dev
ENV DOCKER_CONTAINER 1

COPY ./requirements.txt /code/requirements.txt
RUN pip install -r /code/requirements.txt

COPY . /code/
WORKDIR /code/

EXPOSE 8000
FROM python:3.6
You don’t need to create your Docker image from scratch. You can base your image off of code in another image in the Docker Hub, a repository of existing Docker images.
On this line, I’ve told Docker to base my image off of the Python 3.6 image, which (you guessed it) contains Python 3.6. Pointing to Python 3.6 versus 3.6.x ensures that we get the latest 3.6.x version, which will include bug fixes and security updates for that version of Python.
ENV PYTHONUNBUFFERED 1
ENV creates an environment variable called PYTHONUNBUFFERED and sets it to 1 (which, remember, is “truthy”). All together, this statement means that Docker won’t buffer the output from your application; instead, you will get to see your output in your console the way you’re used to.
ENV DJANGO_ENV dev
If you use multiple environment-based settings.py files, this creates an environment variable called DJANGO_ENV and sets it to the development environment.
You might call that “test” or “local” or something else.
ENV DOCKER_CONTAINER 1
This creates an environment variable called DOCKER_CONTAINER that you can use in settings.py to load different databases depending on whether you’re running your application inside a Docker container.
EXPOSE 8000
In order to runserver like a champ, your Docker container will need access to port 8000. This bestows that access.
Huzzah! Your first Dockerfile is ready to go.
docker-compose.yml Lacey Williams
Docker Compose lets you run more than one container in a Docker application. It’s especially useful if you want to have a database, like Postgres, running in a container alongside your web app. (Docker’s overview of Compose is helpful.) Compose allows you to define several services that will make up your app and run them all together.
Examples of services you might define include:
- web: defines your web service
- db: your database
- redis or another caching service
Compose can also help you relate those services to each other. For example, you likely don’t want your web service to start running until your db is ready, right?
Create a new file called docker-compose.yml in the same directory as your Dockerfile. While Dockerfile doesn’t have an extension, the docker-compose file is written in YAML, so it has the extension .yml.
Mine defines two services, web and db, and looks like this:
version: '3'

services:
  db:
    image: postgres:9.6.5
    volumes:
      - postgres_data:/var/lib/postgresql/data/
  web:
    build: .
    command: python /code/manage.py migrate --noinput
    command: python /code/manage.py runserver 0.0.0.0:8000
    volumes:
      - .:/code
    ports:
      - "8000:8000"
    depends_on:
      - db

volumes:
  postgres_data:
Just like we did with the Dockerfile, let’s go through the parts of this docker-compose.yml file.
version: ‘3’
This line defines the version of Compose we want to use. We’re using version 3, the most recent version.
services
Indented under this line, we will define the services we want our image to run in separate containers when we run our project.
db
db:
  image: postgres:9.6.5
  volumes:
    - postgres_data:/var/lib/postgresql/data/
This is where Compose gets exciting: this section sets up the db service as a Postgres database and instructs Compose to pull version 9.6.5 of Postgres from the image that already exists in Docker Hub. This means that I don’t need to download Postgres on my computer at all in order to use it as my local database.
Upgrading Postgres from one minor version to another while keeping your data requires running some extra scripts, pgdump and pgrestore, and can get a little complicated. If you don’t want to mess with this, set your Postgres image to a specific version (like 9.6.5). You will probably want to upgrade the Postgres version eventually, but this will save you from having to upgrade with every minor version release.
volumes
volumes tells Compose where in the container I would like it to store my data: in /var/lib/postgresql/data/.
Remember when I said that each container had its own set of subdirectories and that is why you needed to copy your application code into a directory named /code/? /var/ is one of those other subdirectories.
A volume also lets your data persist beyond the lifecycle of a specific container.
web
web:
        build: .
        command: python /code/manage.py migrate --noinput
        command: python /code/manage.py runserver 0.0.0.0:8000
        volumes:
          - .:/code
        ports:
          - "8000:8000"
        depends_on:
          - db
This section sets up the web service, the one that will run my application code.
command: python /code/manage.py migrate –noinput
command: python /code/manage.py migrate –noinput will automatically run migrations when I run the container and hide the output from me in the console.
command: python /code/manage.py runserver 0.0.0.0:8000
command: python /code/manage.py runserver 0.0.0.0:8000 will start the server when I run the container.